Compass and Straightedge
Ever since my 7th grade math class, I’ve been obsessed with geometric drawings. I didn’t pay much attention that year, instead opting to sit in the back of the room and draw page after page of spiderweb-like circles. Naturally, one of my first big coding projects was a tool to make this same art form digital. It took me a while to get working, and the results were inevitably rough. Still, though, it was worth it. With not too much touching up, I could get a reasonably good product. One of the profile pictures I’ve now used for years was the result of this little project.
It had been years since I’ve opened the project, but a few days ago I did some acrylic painting in the same style, and decided I’d take another look. Unfortunately, at some point in the intervening years, the project had become corrupted. I don’t know if it was simply an issue switching versions of Godot, or an actual loss of files, but the project opened to an empty folder. No harm though, the old version had lots of issues anyway. I’ve become a much better programmer since then, and the new version I’ve put together not is already much better than the old one. The git repo for the project can be found here, along with a zipped executable in the “builds” folder. Note that as of writing this, it is still very much in development, but is likely only going to be worked on until I’m satisfied with my own workflow, and not to the level of a polished commercial application. The rest of this post is intended to form documentation of sorts, as I go through the process of creating a new version of my profile picture using my ugraded tools.
The Canvas and Navigation
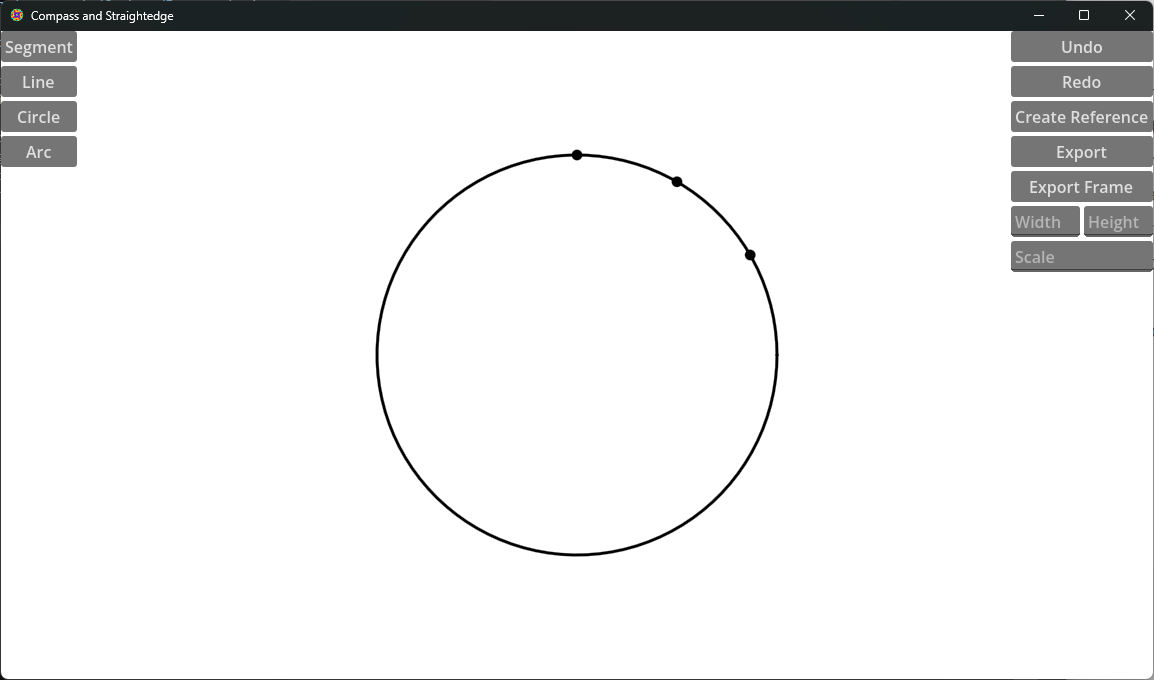
The canvas always starts with a circle, with 12 anchor points spaced evenly along it. Points will show up when the mouse is close, but are otherwise hidden. Whenever two lines (or arcs, or circles) intersect, a point will be created, which can function as a basis for new constructions.
As to navigation, zooming can be done with a mouse wheel, or a scroll motion on a trackpad. To pan, hold either the space bar or middle mouse button while moving the mouse.
The Tools
The first and easiest tool is the Segment tool. To use it, select two points, and a line segment will be created with those points as its ends. Similarly, the Line tool uses two points, then creates a line extending through and past them.
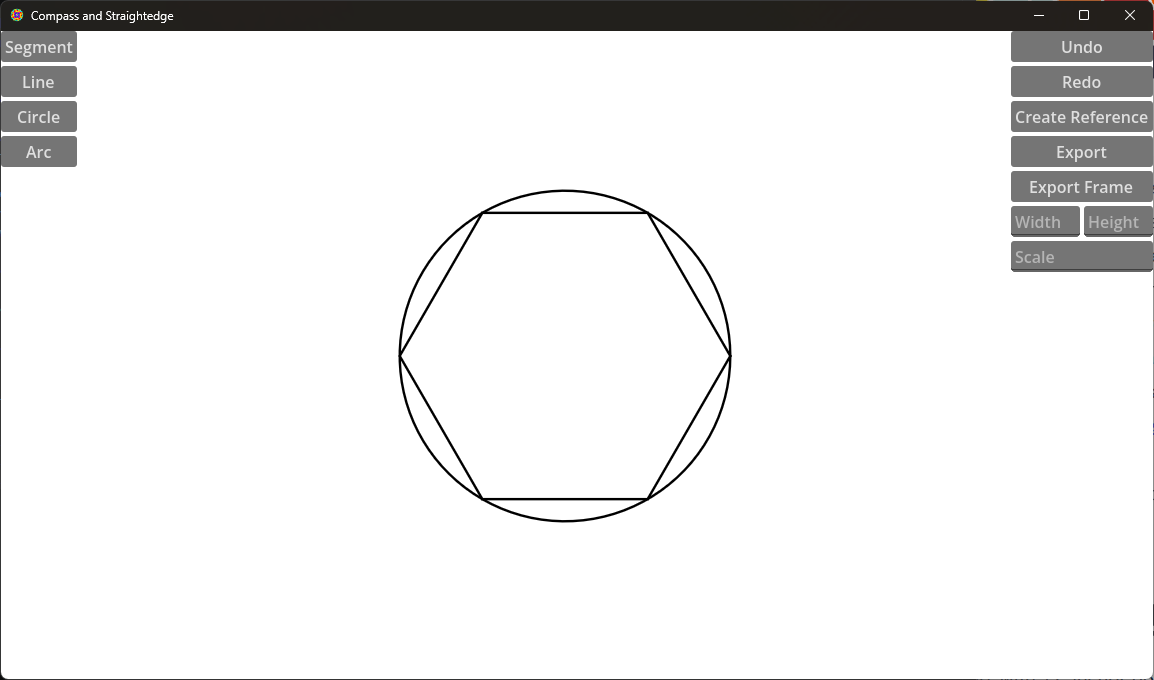
To use the Circle tool, the first delected point defined the center, and the second determines the radius.
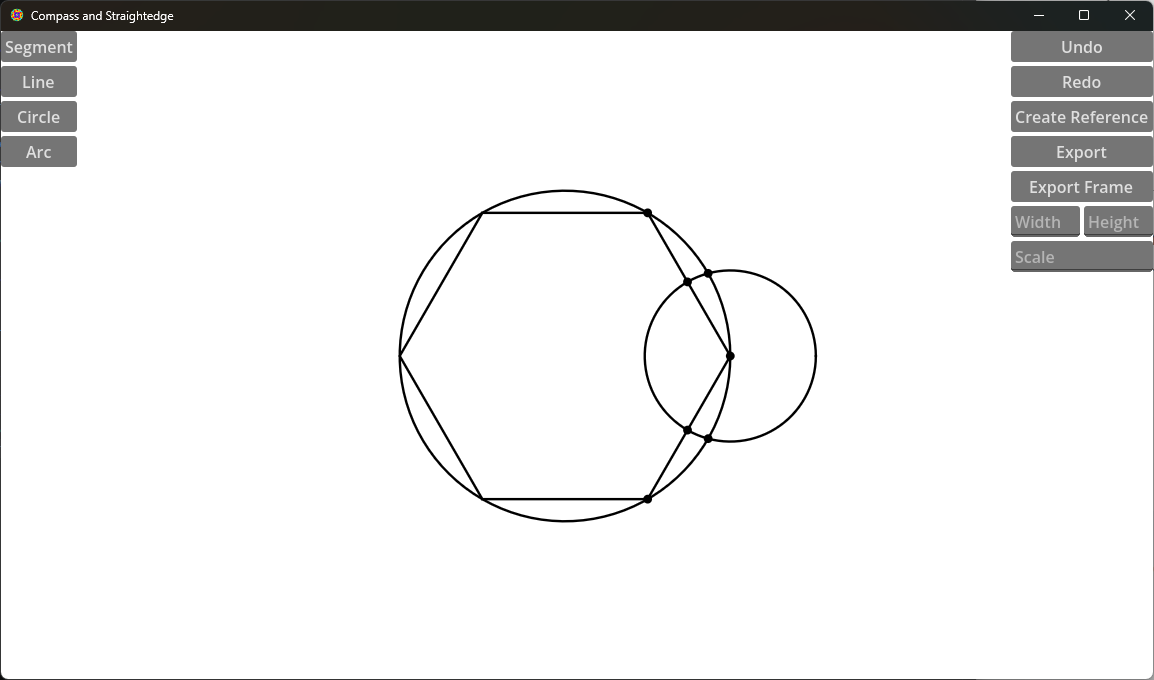
The Arc tool is similar, with the first selection defining the center, and the second defining the radius. However, the second selection also defines the starting point of the arc, with a third point defining its end. Note that the arc is always drawn clockwise from the first point to the second, and goes until it meets the line between the senter and third point, even if that end is in the middle of empty space.
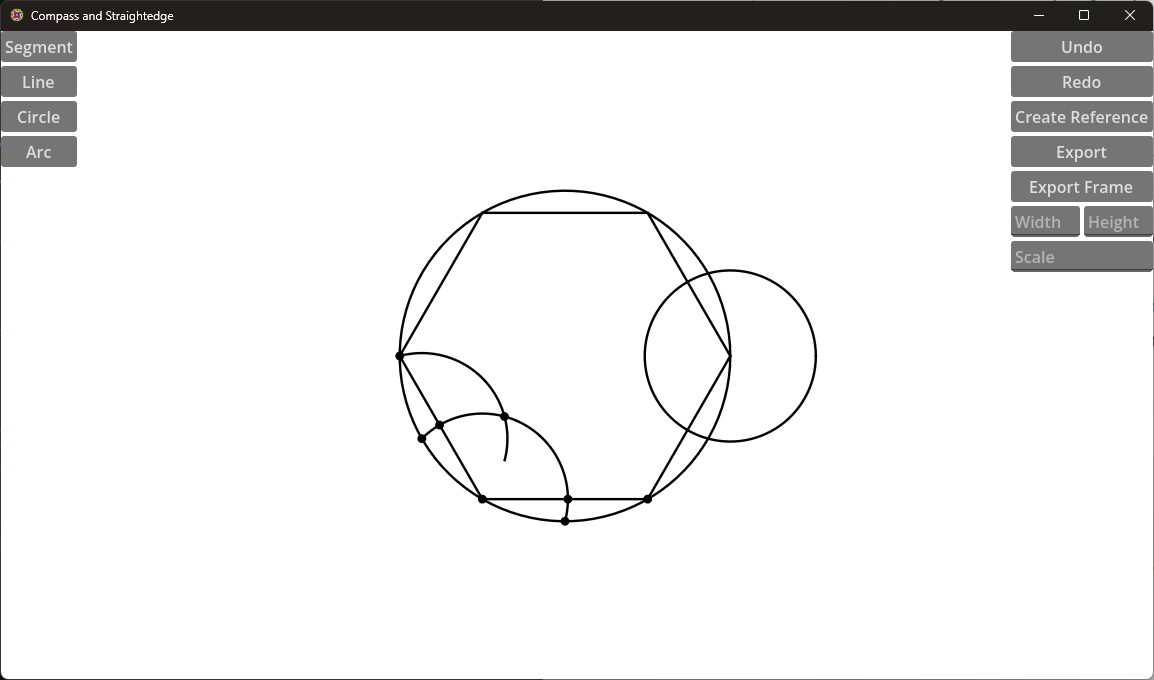
This is the entire extent of the toolset. I don’t ever intend to add more than this, but its amazing how far these three can take you.
Undo/Redo
Of course, We don’t actually need any of these last few additions in our recreation. That’s what the undo button is for! The program doesn’t implement a tool to delete constructed objects, and instead uses a standard undo/redo system. There are, of course, onscreen buttons, but the shortcust ‘ctrl-z’ and ‘shift-ctrl-z’ work for undo and redo respectively.
Reference constructions
We still have one more problem; it’s impossible to make it any further in our drawing without adding lines we don’e want in our final export. Thus, we use reference lines instead. As long as the “Create Reference” button on the right is toggles, nothing you draw will show up in the final export.
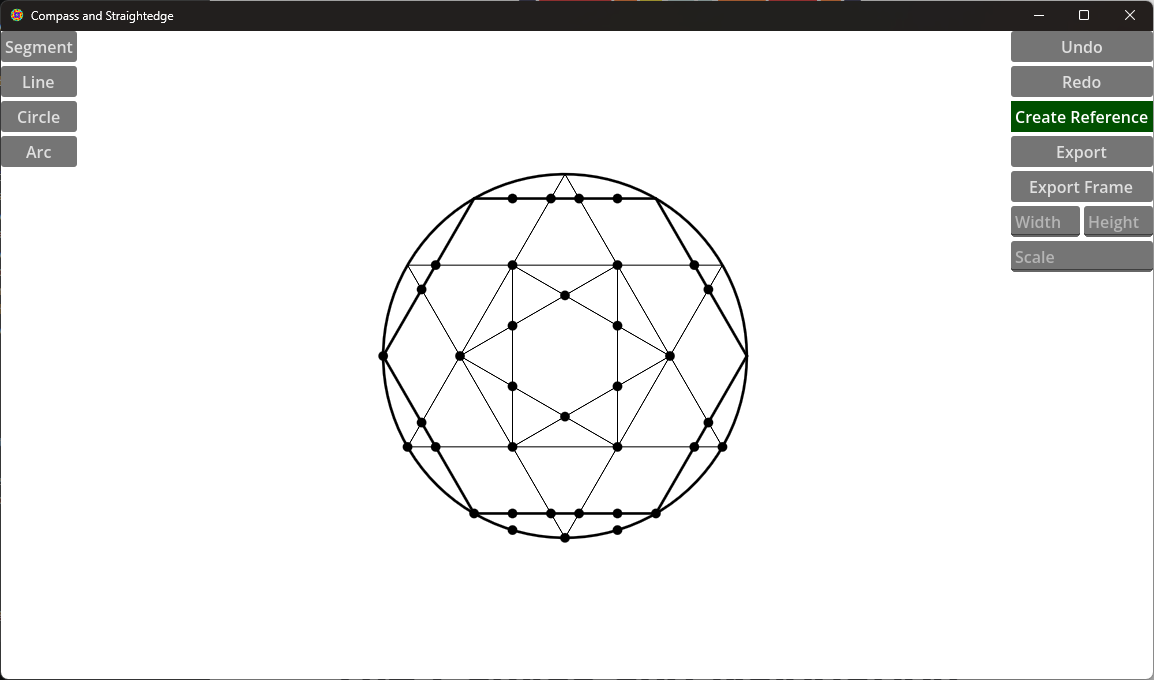
And that’s it! Combining all of this, we can draw out the rest of the image.
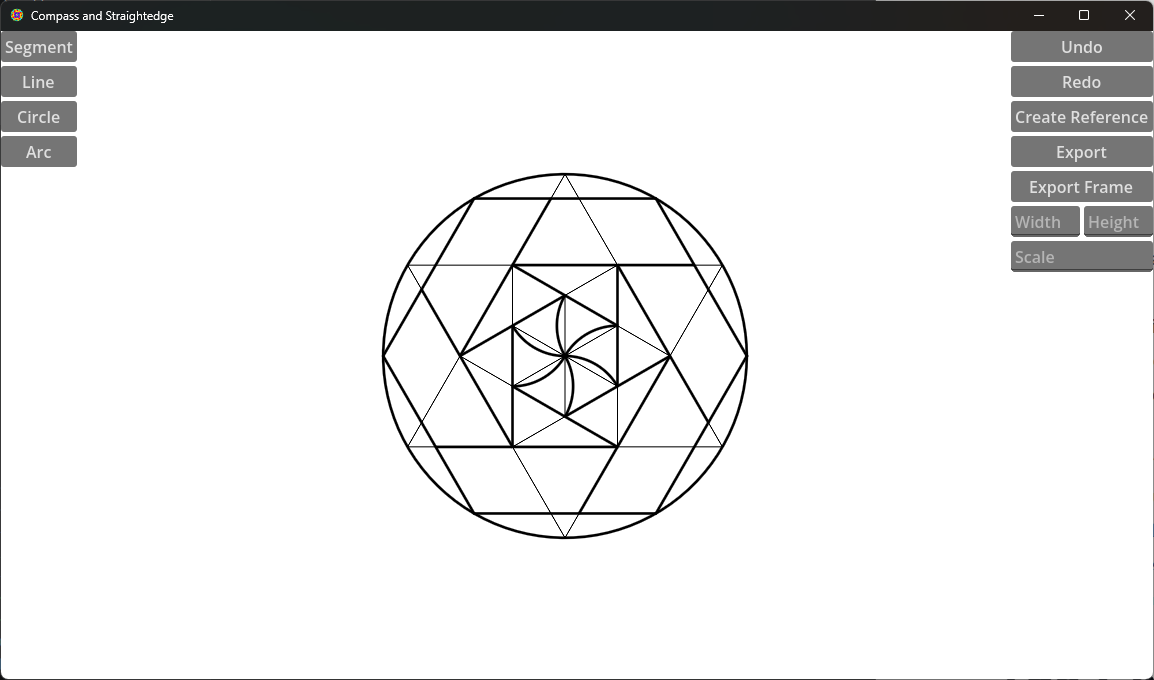
Exporting
Finally, we can export our image. To export, you need to enter a width, height, and scaling factor into the fields on the right before hitting the export button. The central circle is, by default, 400px across, so my preferred export size is a simple 512x512 square. If you want to add color, you should also use the Export Frame button with the same settings.
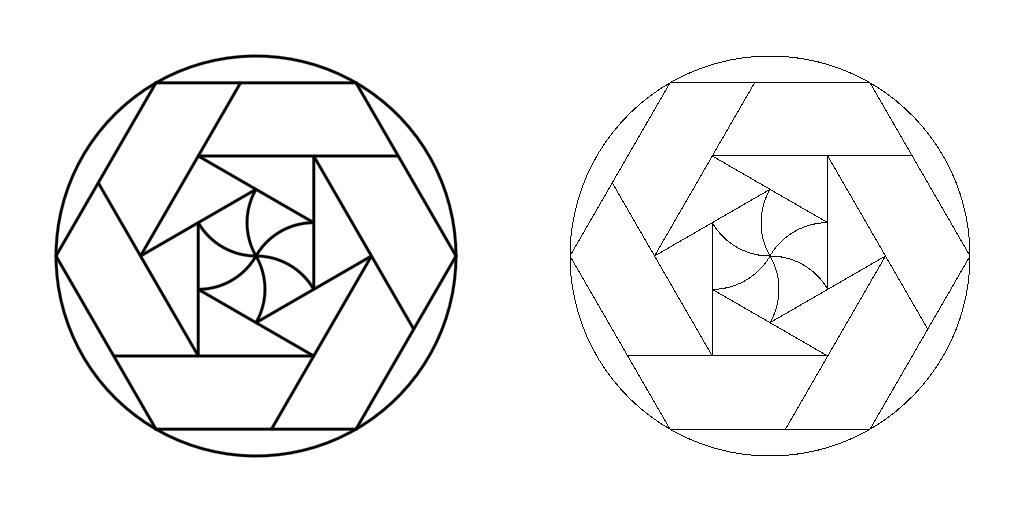
Adding Color and Polish
Unfortunately, it’s way, way easier to just add color in an exterior program than with some custom fill script I then have to manage. Therefore, my standard workflow is to open both the frame and normal export in Krita (though I’m sure Gimp would work as well). I then copy one into the other, and make sure the frame is layered below the normal image. Finally, using a fill tool, I fill the frame layer with whatever colors I want. In this case, I also inverted the color of the base image to create the white frame in the original.
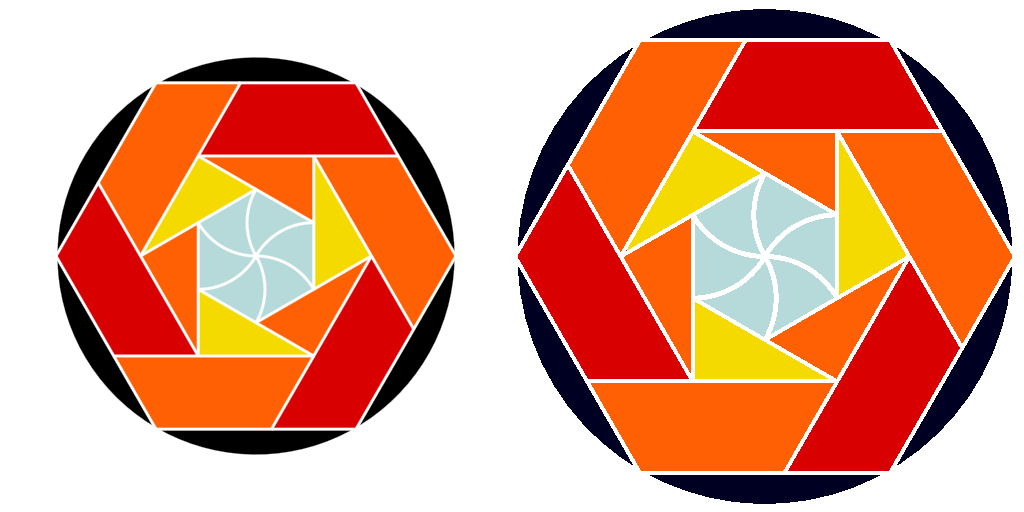
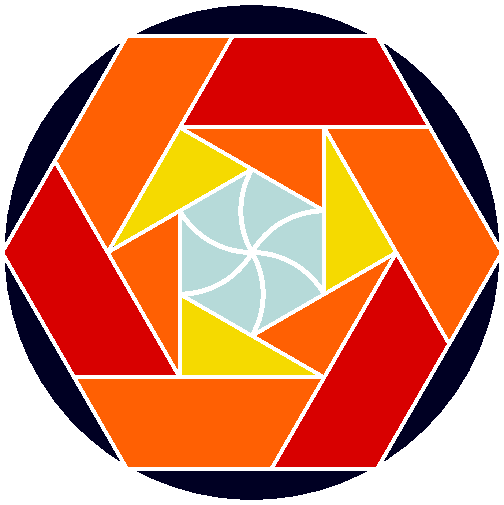
This comparison already shows a pretty good improvement over the old version, with softer edges and no stray pixels in the corner of the small triangles. However, we can take it a step further by adding a glow effect to the normal, unfilled layer. This is mostly to taste, but here I used 75% opacity, 20% spread, and a 21px size.
Exporting from Krita, we have our finished product!